
GitHub offers a convenient SSH key feature for accessing your repositories on the command line. Instead of using usernames and passwords every time you push to or pull from your repository, you can use your ssh key. In this article, we will talk about how you can set up SSH on GitHub step by step.
About SSH
SSH, or Secure Shell, is a protocol that allows users to control and modify their remote servers over the Internet. Using SSH protocol, you can connect and authenticate to remote servers and services. With SSH key, you can connect to GitHub without supplying your username or password at each visit. Using an SSH key is a convenient and secure way to access your account. It’s convenient because you don’t need to remember a long password.
Why we need SSH key?
As you know, if you use git and want to clone anything from remote repositories, you have to choose one of these 2 ways: HTTPS or SSH.

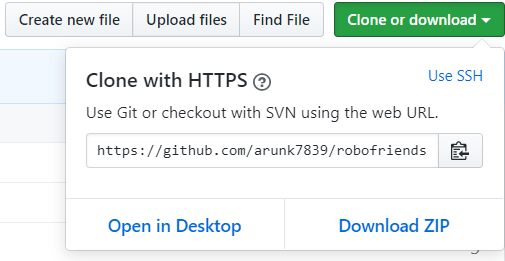
If you use HTTPS way, you have to type your account’s access (username or password) every time you communicate with remote repository. On the other hand, we have SSH authentication method. This method uses SSH key pair using which you can connect to GitHub without supplying your username or password at each visit that you do while using HTTPS. Each SSH key pair consists of a private key and a corresponding public key. When you use SSH key for git, you say git that this PC is authenticated for that github’s account, and never ask me again about any access, because I have already given you my SSH key (for this pc).
SSH keys are stored in the ~/.ssh folder.

As you can see above the .ssh folder consist of two files id_rsa and id_rsa.pub .
The .pub file contains the public key, while the other file contains the private key which is only for private use. Never ever share your private key with anyone. If you lose the private key, you’ll have to regenerate a new private/public key pair, as the authentication cannot be successfully completed without the private key part.
Now let’s talk about how to setup SSH on Github step by step.
Step 1 – Generating a new SSH key
Checking for existing SSH keys
If you don’t already have an SSH key, you must generate a new SSH key. If you’re unsure whether you already have an SSH key, check for existing keys.
If you want to check whether you have existing ssh key or not :
- Open Git Bash.
- Enter ls -al ~/.ssh to see if existing SSH keys are present:
$ ls -al ~/.ssh# Lists the files in your .ssh directory, if they exist
3.Check the directory listing to see if you already have a public SSH key. By default, the filenames of the public keys are one of the following ie. id_dsa.pub, id_ecdsa.pub, id_ed25519.pub, id_rsa.pub.
Generating a new SSH key
After you’ve checked for existing SSH keys, you can generate a new SSH key to use for authentication.
- Open Git Bash.
- Paste the text below and substitute your GitHub email address.
$ ssh-keygen -t rsa -b 4096 -C "your_email@example.com"
# Creates a new ssh key
# Generating public/private rsa key pair.
This creates a new ssh key, using the provided email as a label.

3.It will ask you “Enter a file in which to save the key“, press Enter. This accepts the default file location.

4.Type a secure passphrase and then enter the same passphrase again. Then it will show you the saved Identification and public key location and also the key fingerprint and key’s randomart image.
Step 2 – Adding your SSH key to the ssh-agent
If you don’t want to reenter your passphrase every time you use your SSH key , you can add your key to ssh-agent, which manages your SSH keys and remembers your passphrase.
Now after generating a new SSH key, we will add a new SSH key to the ssh-agent to manage the key.
1.Ensure the ssh-agent is running:
To start the ssh-agent manually write the below command :
# start the ssh-agent in the background

$ eval $(ssh-agent -s)

2.Add your SSH private key to the ssh-agent. If you created your key with a different name, or if you are adding an existing key that has a different name, replace id_rsa in the command with the name of your private key file.
$ ssh-add ~/.ssh/id_rsa

Step 3 – Adding a new SSH key to your Github account
To configure your GitHub account to use your new (or existing) SSH key, you’ll also need to add it to your GitHub account.
- Copy the SSH key to your clipboard by writing the below command :
$ clip < ~/.ssh/id_rsa.pub

# Copies the contents of the id_rsa.pub file to your clipboard
- Log In to your Github account. In the upper-right corner of any page, click your profile photo, then click Settings.

- In the user settings sidebar, click SSH and GPG keys.

- Click New SSH key and then you can see something like this as shown below :

- In the “Title” field, add a descriptive label for the new key.
- Paste your key into the “Key” field.
- Click Add SSH key.
- Finally, it will ask you the confirm GitHub password to continue.
Thank you, I hope this tutorial will help you in understanding how to setup SSH on Github.